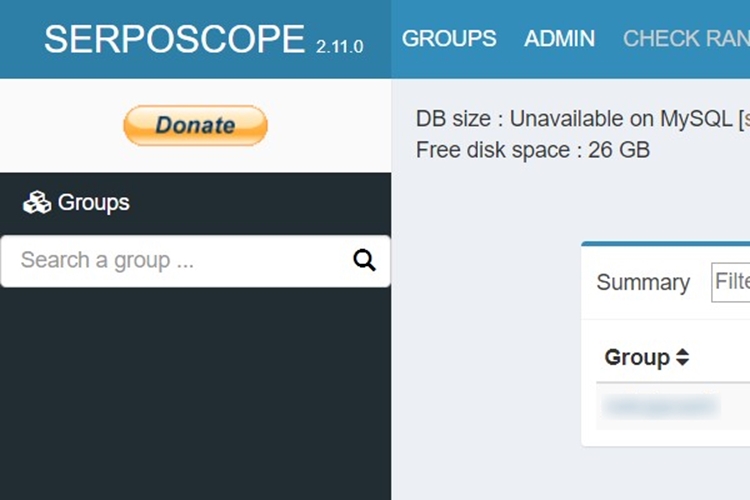
Serposcopeを開いたら、上に、アップデートの知らせが表示されていた。
Serposcopeのアップデート方法を書きます。OSはDebianです。
目次【本記事の内容】
-
- 1.データのバックアップ
- 2.アップデート
- 2-1.SSHを立ち上げる
- 2-2.Serposcopeのインストール
1.データのバックアップ
アップデートする前に、データをバックアップしておきます。
Serposcopeの画面の上のADMINをクリック。
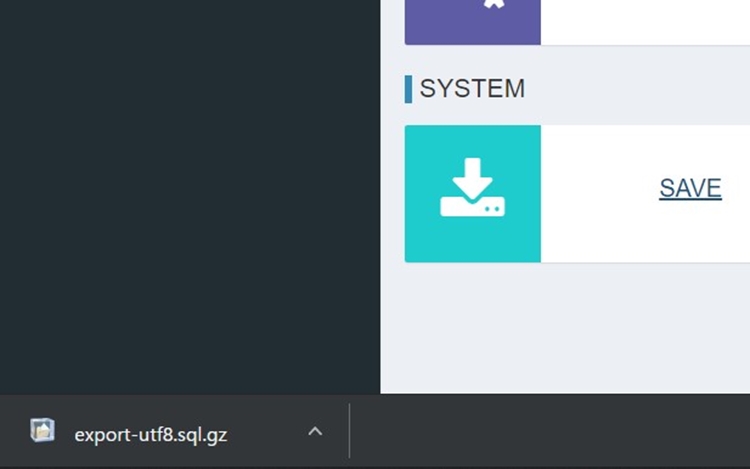
SYSTEMにSAVEとあるので、クリック。export-utf8-sql.gzというバックアップファイルがダウンロードされるので、どこかに保存しておきます。
2.アップデート
2-1.SSHを立ち上げる
SSHを使うやり方は設定次第で何通りもありますが、ここでは一例を示します。
Google Cloud PlatformへのSerposcopeのインストールのやり方は、こちらの記事を読んでください。こちらの記事の設定でやっています。
Google cloudのサイトに行き、コンソールへ移動をクリック。

左上の三本線のアイコンをクリック。Compute Engine>VM インスタンスをクリック。
インスタンスが表示されます。

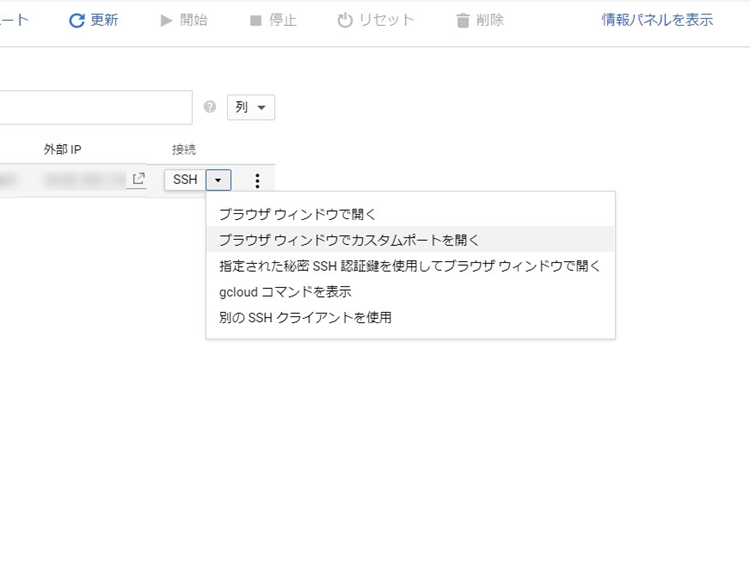
接続のところの三角形のマークをクリックすると、窓が表示されるので、ブラウザウィンドウでカスタムポートを開くをクリック。

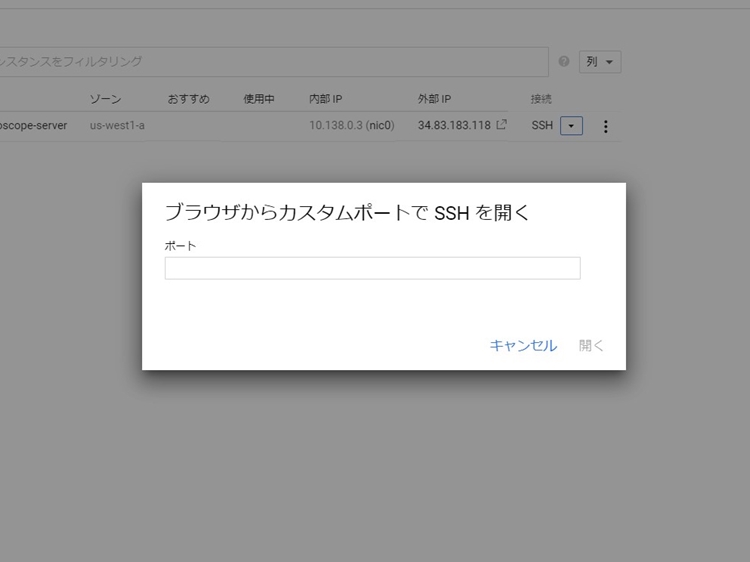
ブラウザからカスタムポートでSSHを開くと出るので、ポートのところで以前設定したカスタムポートの値を入れて開くをクリック。
2-2.Serposcopeのインストール
OSはdebianです。
上書きします。
任意の場所で、
wget https://serposcope.serphacker.com/download/2.10.0/serposcope_2.11.0_all.deb(serposcopeのダウンロードパス)
でファイルをダウンロード
そのあと、
sudo dpkg -i serposcope_2.11.0_all.deb
でインストール。
dpkg: unrecoverable fatal error, aborting:

fork failed: Cannot allocate memory
というエラーが出た。メモリが足りないらしい。
ぐぐったら、スワップファイルを作ったらいいようだ。
sudo fallocate -l 512M /swapfile

sudo sudo chmod 600 /swapfile

sudo mkswap /swapfile

sudo swapon /swapfile
として、
もう一度
sudo dpkg -i serposcope_2.11.0_all.deb
としたら、成功。
sudo swapoff /swapfile
sudo rm swapfile
でスワップファイルを無効、削除して完了。
バージョンが上がっているのを確認。
参照:
https://conocode.com/troubleshooting/yum-update-errno-cannot-allocate-memory/
https://www.digitalocean.com/community/tutorials/how-to-add-swap-space-on-debian-9


